
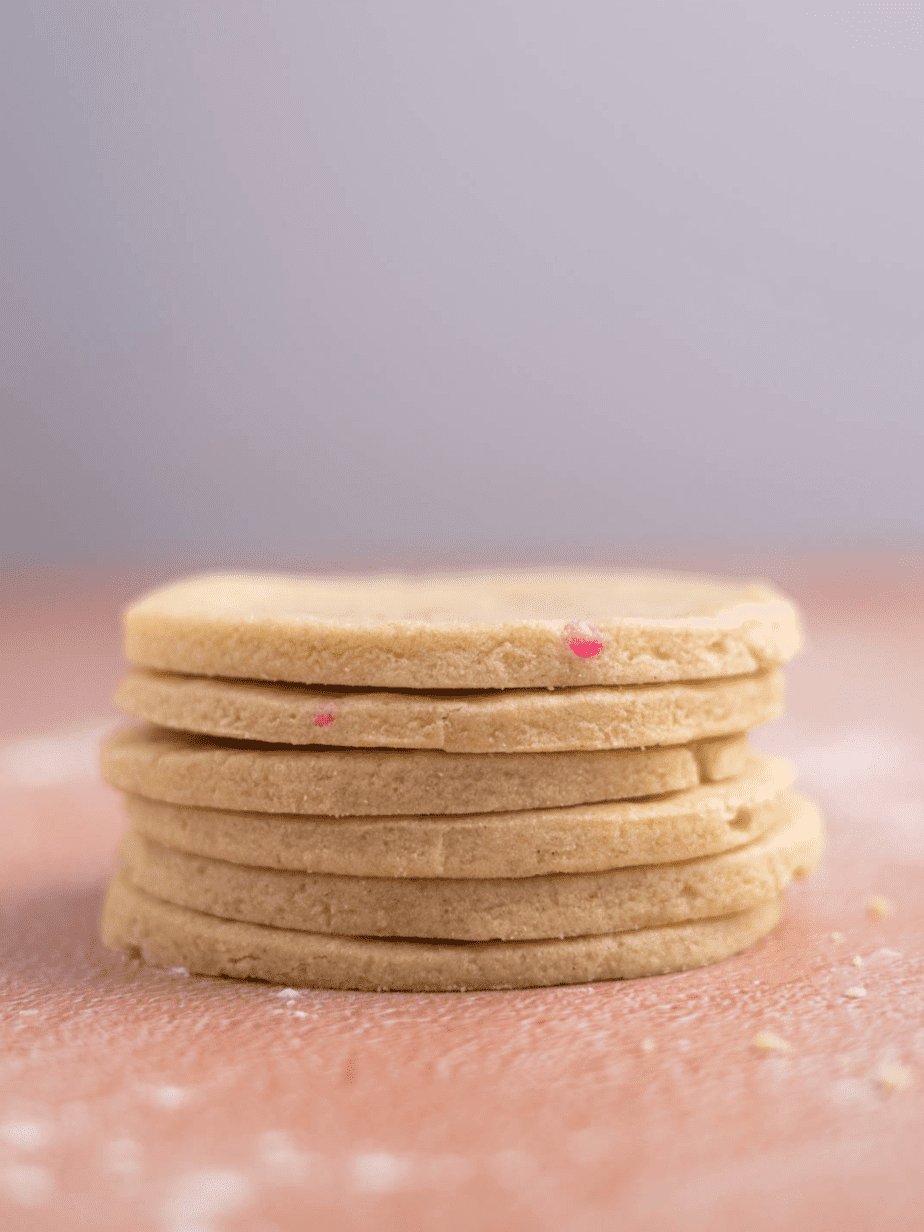
These Dairy Free Sugar Cookies are soft, tender, and baked until lightly golden brown and chewy. Cut them into your favorite shapes and decorate with your favorite sprinkles, cookie icing, or colored with natural food dyes.

If you haven't noticed, baking cookies is kind of my specialty. From my Vegan S'mores Cookies, Biscoff Butter Cookies, Oatmeal Raisin Cookies, Oatmeal Chocolate Chip Cookies, and Dairy Free Chocolate Chip Cookies, it's practically impossible to choose a favorite.
But these sugar cookies are truly special. They're soft, buttery, and the best way to celebrate!
Why You'll Love This Recipe
- Perfect for the holidays - Sugar cookies are one of those cookies that are perfect for any kind of holiday - switch up the sprinkles and/or frosting and dress these classic sugar cookies up for Valentine's Day, St. Patrick's Day, Christmas Day, Halloween, Easter, birthdays, bridal showers, etc!
- Only 7 ingredients - Many vegan recipes over complicate things and add all sorts of unnecessary or hard to find ingredients. These dairy free and vegan sugar cookies are made with just 7 simple ingredients you likely already have on hand!
- Ideal for food allergies - This recipe is free of several of the top allergens and can even be made without wheat, if desired.
Ingredients and Substitutions
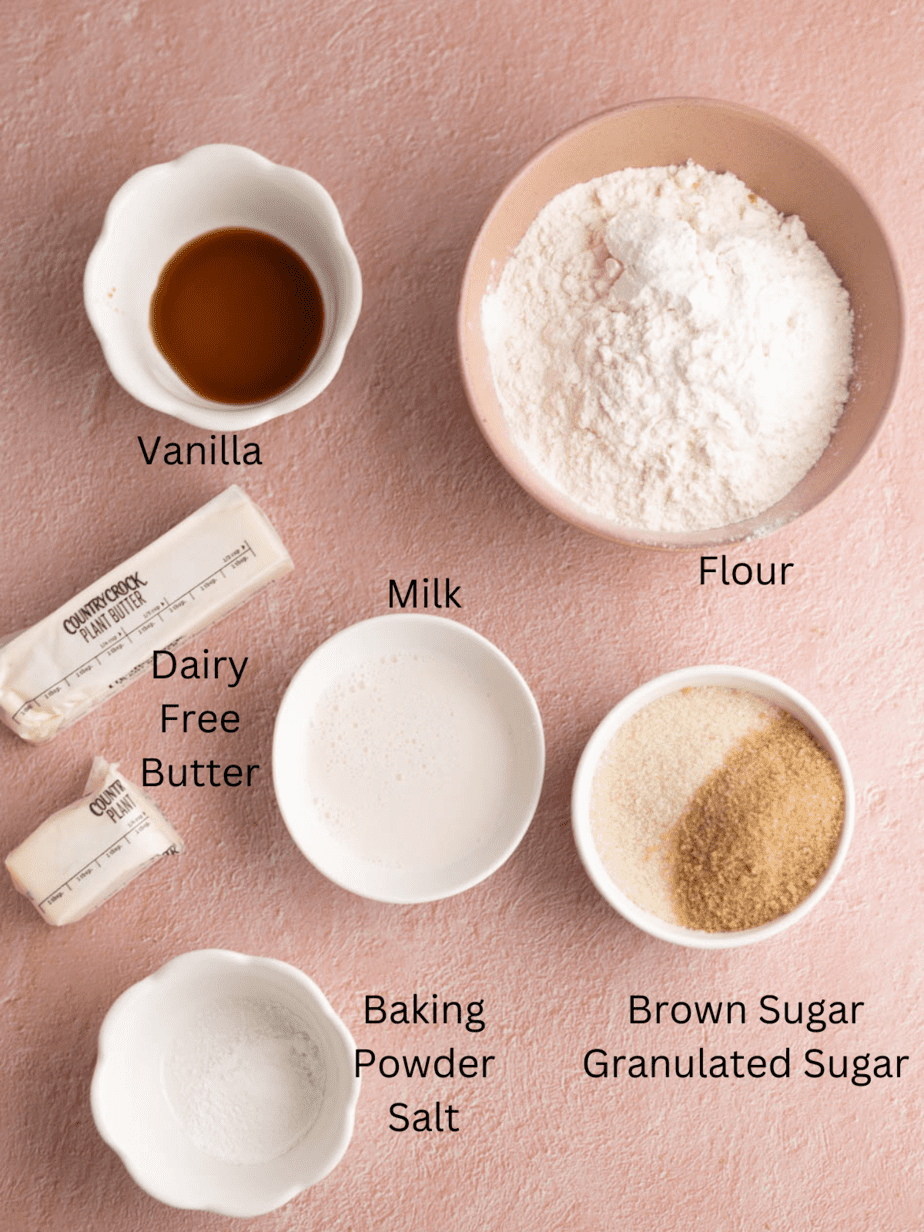
- Flour - Either all-purpose flour or a gluten-free flour blend will work well. I regularly use Bob's Red Mill gluten-free flour blend and have great results using it interchangeably for wheat flour. Note that this is not always the case with other gluten-free flour blends as all are made differently.
- Sugar - For the best flavor and chewy texture, you'll need both white granulated sugar and brown sugar. If you prefer a richer, bolder tasting sugar cookie, use dark brown sugar. If you prefer them lighter tasting, use light-brown sugar. Do not replace the sugar with a liquid sweetener such as maple syrup or agave. This will change the wet to dry ratio and will make the cookie batter too wet.
- Dairy-free butter - If possible, dairy-free butter sticks are better over the softer butter spreads. Try butter from brands such as Earth Balance, Miyoko's Creamery (my personal favorite!), and Country Crock butter sticks.
- Plant-based milk - Any unsweetened milk of choice will work. If you've recently made my Creamy Oat Milk Hot Cocoa or a Creamy Iced Oat Milk Latte, leftover oat milk will work perfectly.
Step by Step Instructions
- Cream the dairy free butter. Add the butter into a large mixing bowl, then beat the butter with a hand mixer or stand mixer until light and fluffy, about 45 seconds.
- Add the sugar and vanilla. Once the butter is soft and fluffy, add in the vanilla extract, white sugar and brown sugar. Mix again until well combined and slightly gritty in texture.
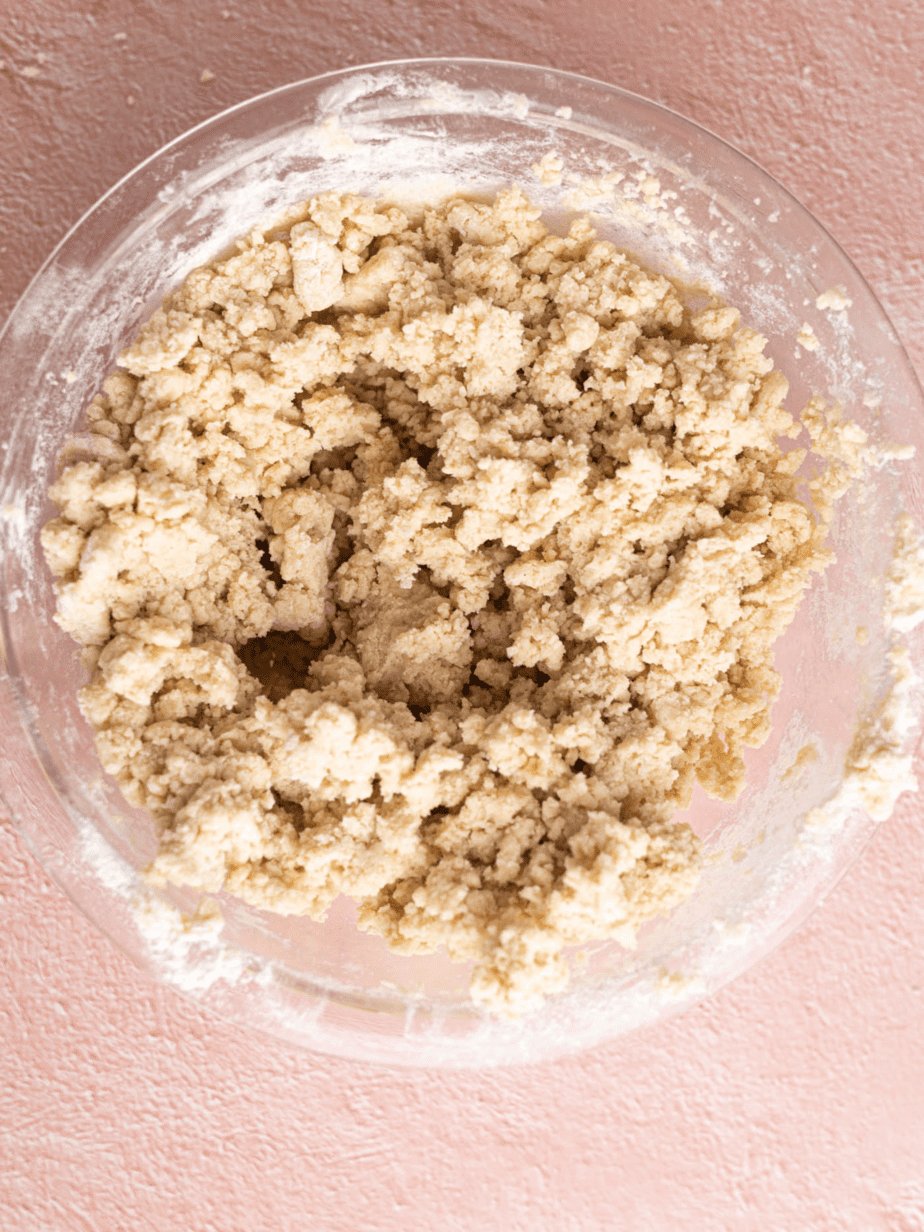
- Add the dry ingredients. Slowly add the flour, salt and baking powder. Mix again until just combined and a crumbly, soft cookie dough forms.
- Slowly pour in the milk. Mix again until a soft dough forms. The dough will seem crumbly, but when you press it together between your fingers, it will hold together.
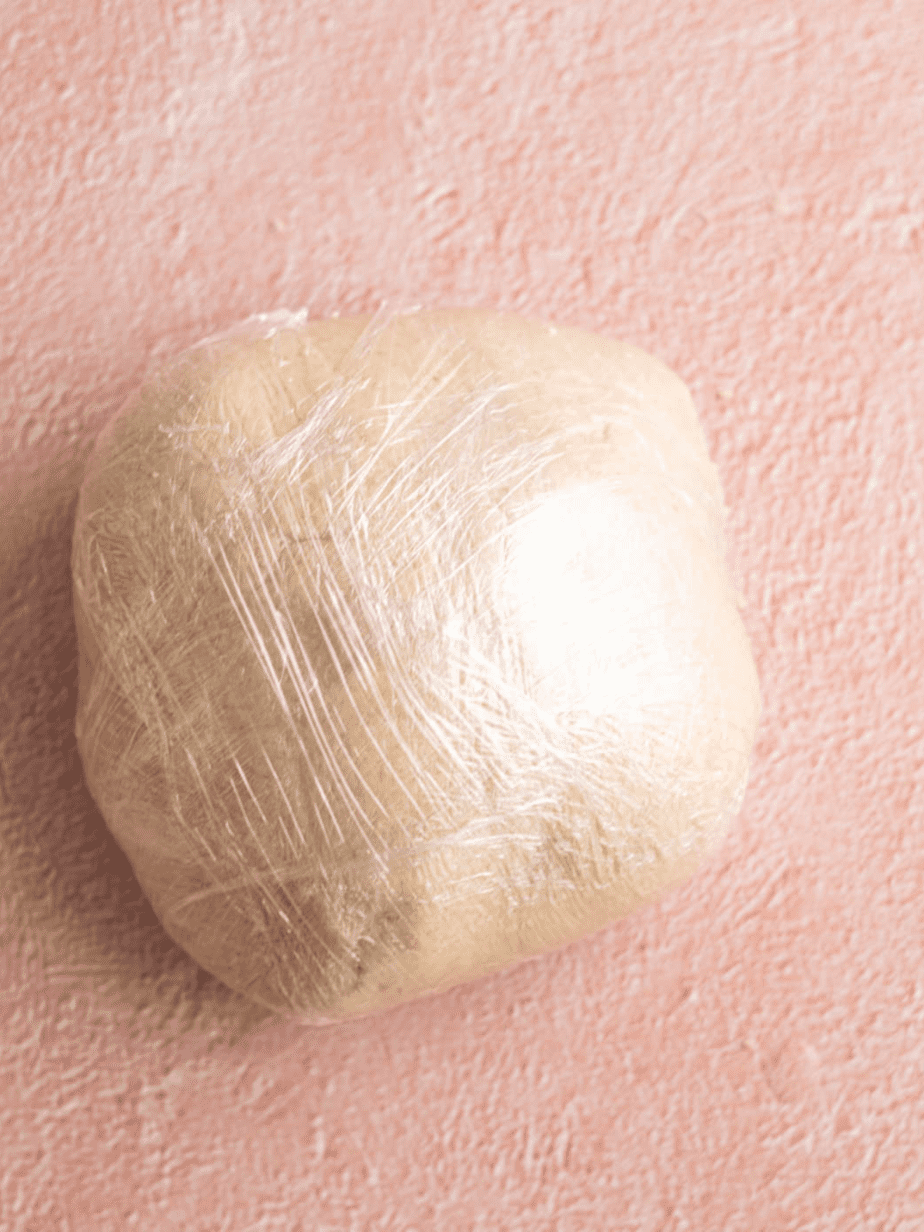
- Chill the dough. Form the dough into a large, uniform ball, then wrap the dough in plastic wrap. Refrigerate for 1 hour, or until ready to bake.
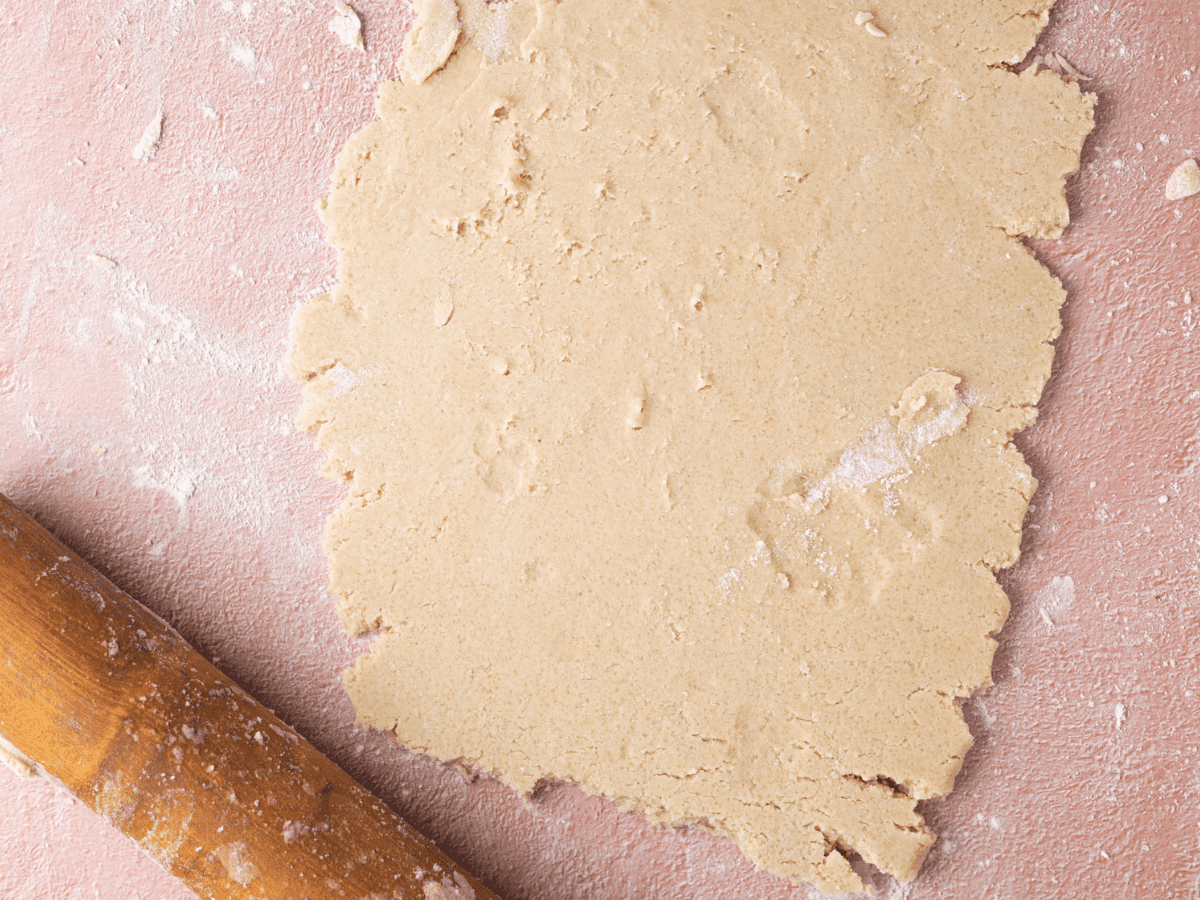
- Roll out the dough. Once the dough has chilled for at least 1 hour, remove the dough from the refrigerator and place the dough on a lightly floured surface. Then, using a rolling pin, roll the dough out until approximately ¼ of an inch thick.
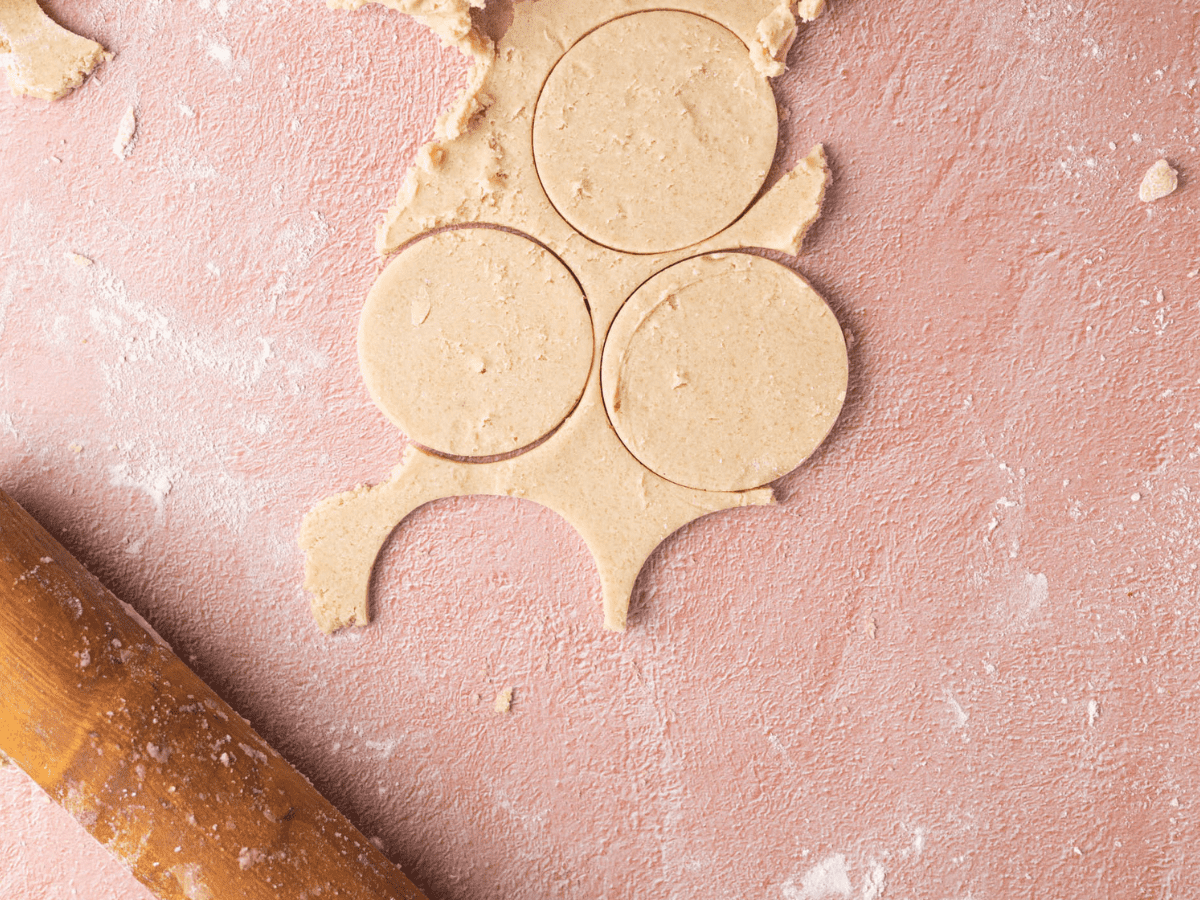
- Cut out the cookies. Using your cookie cutters of choice, cut the cookie shapes out and place them onto a greased baking sheet. Once you are unable to cut your dough into cookie shapes any further, ball up the remaining scraps, then roll it back out. Continue to cut the dough into shapes until you have no dough remaining.
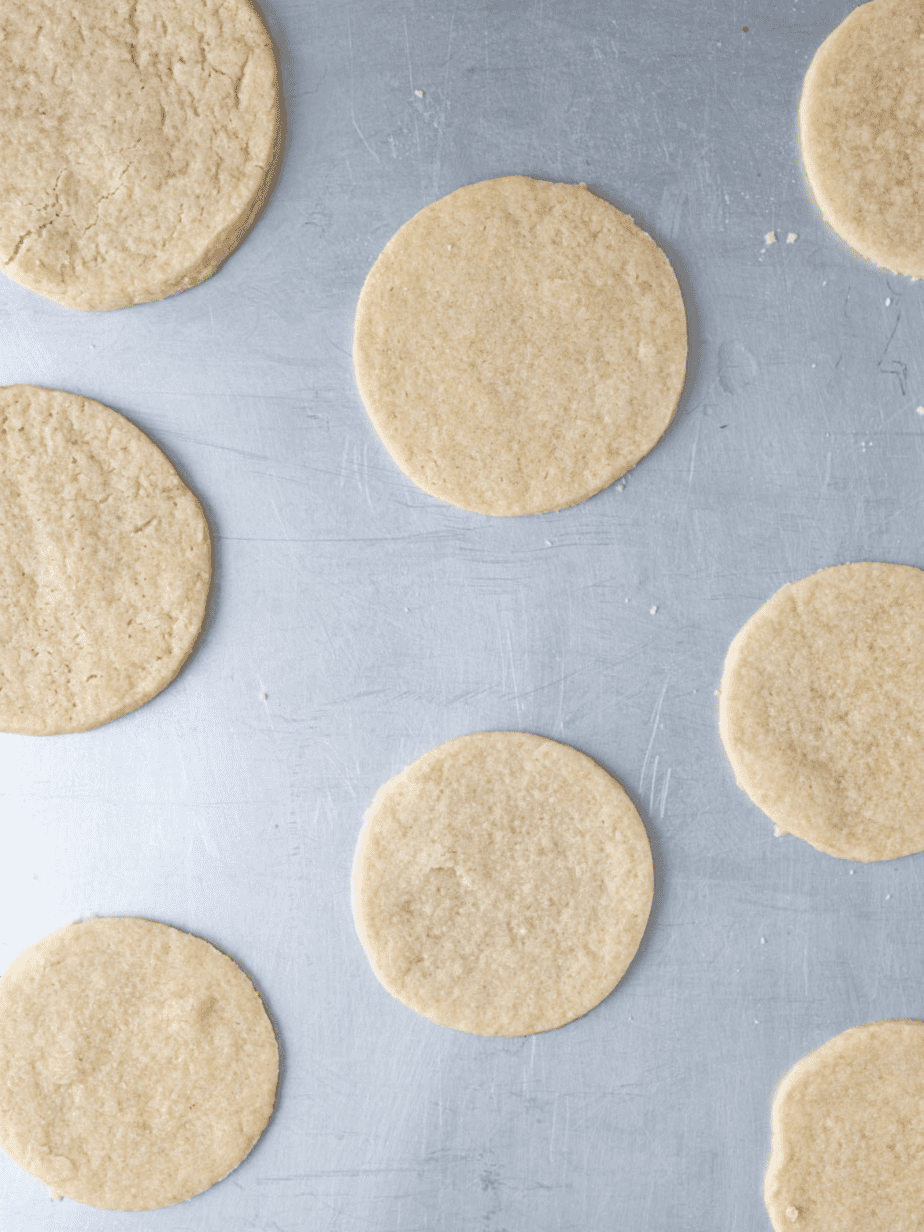
- Sprinkle the cookies, if desired. If you are using sprinkles or colored sugar, sprinkle them on top, then lightly press in to the top of the cookies.
- Bake! Bake these dairy free sugar cookies for 8-10 minutes, or until the cookies have slightly fluffed up a little and gotten just a bit of color. When ready, they will look underbaked, but they continue to firm up as they cool!
- Cool, then enjoy! Allow the sugar cookies to cool for 15-20 minutes, then enjoy as desired!
Storing and Reheating Instructions
Once baked, these dairy free sugar cookies will keep best when stored in an airtight container at room temperature and will keep for up to 7 days. These baked sugar cookies can also be frozen for up to 2 months. To freeze, layer the cookies in an airtight freezer-safe container. To prevent the cookies from sticking together, you can place a layer of parchment paper or wax paper between the layers of cookies.
Alternatively, the sugar cookie dough can be frozen before baking. Follow the recipe through step 5, then wrap the dough in plastic wrap and place it in a freezer bag, removing as much excess air as possible. Freeze for up to 3 months. When ready to bake, allow the dough to thaw completely in the refrigerator, then roll out and bake when ready!
Time Saving Hacks
This cookie dough can be made up to 24 hours in advance. To do so, follow the recipe through step 5, then tightly wrap in plastic wrap and refrigerate until ready to use. Then when ready to bake, pick back up with recipe step 6 and roll out the dough and bake as usual.
Recipe FAQs
The best substitute for cow's butter in sugar cookies is dairy free, vegan butter. Vegan butter sticks are formulated to mimic the consistency and texture of cow's butter and is the best, most accurate ingredient swap.
I've tested these dairy free cookies using several types of non-dairy milk and really any milk of choice will work well! Oat milk, soy milk, almond milk, or even coconut milk are great examples. The only recommendation I have is to use an unsweetened milk - sweetened varieties will overly sweeten the chewy sugar cookies.
Typically, yes. Buttercream frosting is one of the most popular choices for frosting sugar cookies and it almost always contains unsalted butter, heavy cream or another whole fat milk. Royal icing is another popular choice and while usually dairy free, it does usually contain egg, making it not vegan. If you're interested in frosting these dairy free sugar cookies, fill a piping bag with my vanilla buttercream that I use to frost my Vegan Chocolate Bourbon Cupcakes. Or, if you prefer a boozy frosting, try my homemade Prosecco infused buttercream.
Tips for Success
- Do not over bake! Unlike other cookie recipes that develop a noticeable browning on the outer edges, these cookies should only become slightly golden. If the edges have started to brown, this is a tell-tale sign that they are over-baked and will be crunchy, not chewy.
- Soften your butter ahead of time. It is essential to bake these cookies using softened butter. If you try to make these cookies with cold vegan butter, it won't cream properly with the sugar and will remain hard and crumbly. For best results, remove the butter from the fridge about 30 minutes prior to baking. Or, if you need to soften your butter as quickly as possible, check out these Easy Ways to Soften Butter quickly and easily.
More Dairy-Free Desserts To Try


Chewy Dairy Free Sugar Cookies
Ingredients
- 2 cups flour
- 1 tsp baking powder
- ¼ tsp salt
- 1 cup granulated sugar
- 2 tbsp brown sugar packed
- ¾ cup vegan butter softened (block butter is best)
- ¼ cup plant based milk
- 1 tsp vanilla
Instructions
- Add the butter into a large mixing bowl then beat the butter with an electric or stand mixer until it is light and fluffy, approximately 45 seconds.
- Once fluffy, add in the vanilla, white sugar and brown sugar and mix until combined. The batter will be slightly gritty.
- Slowly add the flour, salt and baking powder and mix until combined. The batter will be on the crumbly side.
- Slowly add in the milk and continue to mix until a soft dough forms. The dough will seem crumbly but moldable.
- Roll the dough into a ball and wrap in plastic wrap or a place in a reusable bag and place in the fridge for one hour.
- Once the hour is up, preheat the oven to 325 degrees F. Place parchment paper on a baking sheet, or grease a baking sheet.
- Clean a flat surface area and spread approx. 2 tbsp of flour throughout it.
- Place the dough ball on the floured surface. Then, using a floured rolling pin, roll your dough out until it is approx. ¼ of an inch.
- Using your cookie cutter, cut the cookie shapes out and place them onto the greased baking sheet.
- Once you are unable to cut your dough any further, roll it into back into a ball and re-roll it out, then cut your cookie shapes again. You may need to add more flour to the surface.Continue to do so until you have used all of the dough. If you are using sprinkles or colored sugar, sprinkle it on top and lightly press it in.
- Bake for 8-10 minutes, until the cookies have fluffed up a little and turned slightly brown. They will seem a little under baked but they will firm up.
- Let cool for 15-20 minutes. They will keep well for up to 7 days in an air tight container. You may also freeze them for up to two months.
Leave a Reply